On this page, you will find all the information you need to get started with the free version of our blog theme AeonBlock. It is one of the best Accessibility Ready WordPress themes.
This theme has also been developed for the purpose of sharing the basic ideas of accessibility, and to show that accessible themes can be both beautiful and great for SEO.
AeonBlock is available for download directly from the official WordPress theme directory.
You can also try out all the theme options on our demo page!
Requirements
To install AeonBlock, you first need a self hosted WordPress installation, the theme has not been tested on WordPress.com.
We recommend that you always use the latest version of WordPress.
The theme requires at least PHP version 5.6, but a newer version is recommended.
Theme Installation
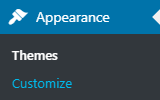
- Log in to your WordPress administration area, and select Appearance, Themes.
- Select the Add New button.
- You can now search for AeonBlock, or upload the zip file if you have already downloaded the theme.
- Select Install, or Install New, depending on which option you selected above.
- Select Activate:

First steps
When setting up your theme, you will find all the options in the customizer.
Select Appearance, Customize:
-The first thing you want to do is probably adding a Site Title, tag line and logo. These options are found in the Site Identity panel.
Adding a logo is optional. You can select an existing image in your media library, or upload a new image. The logo is shown above the site title.
With the Display Site Title and Tagline option, you can hide your site title and tagline. Tip: If you only want to use a site title, you can leave the field for the tag line empty.
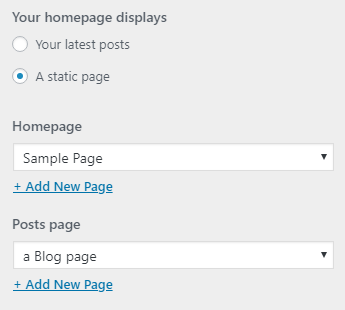
Selecting a homepage
Next, you may want to decide if you want to show a list of blog posts, or if you want to show a single page as your homepage. You can adjust this in the Homepage Settings panel.
Your latest posts will be shown by default. Select the A static page option to add one page for the homepage, and one for showing the list of blog posts.
If you do not have enough pages, you can create new pages with this option:
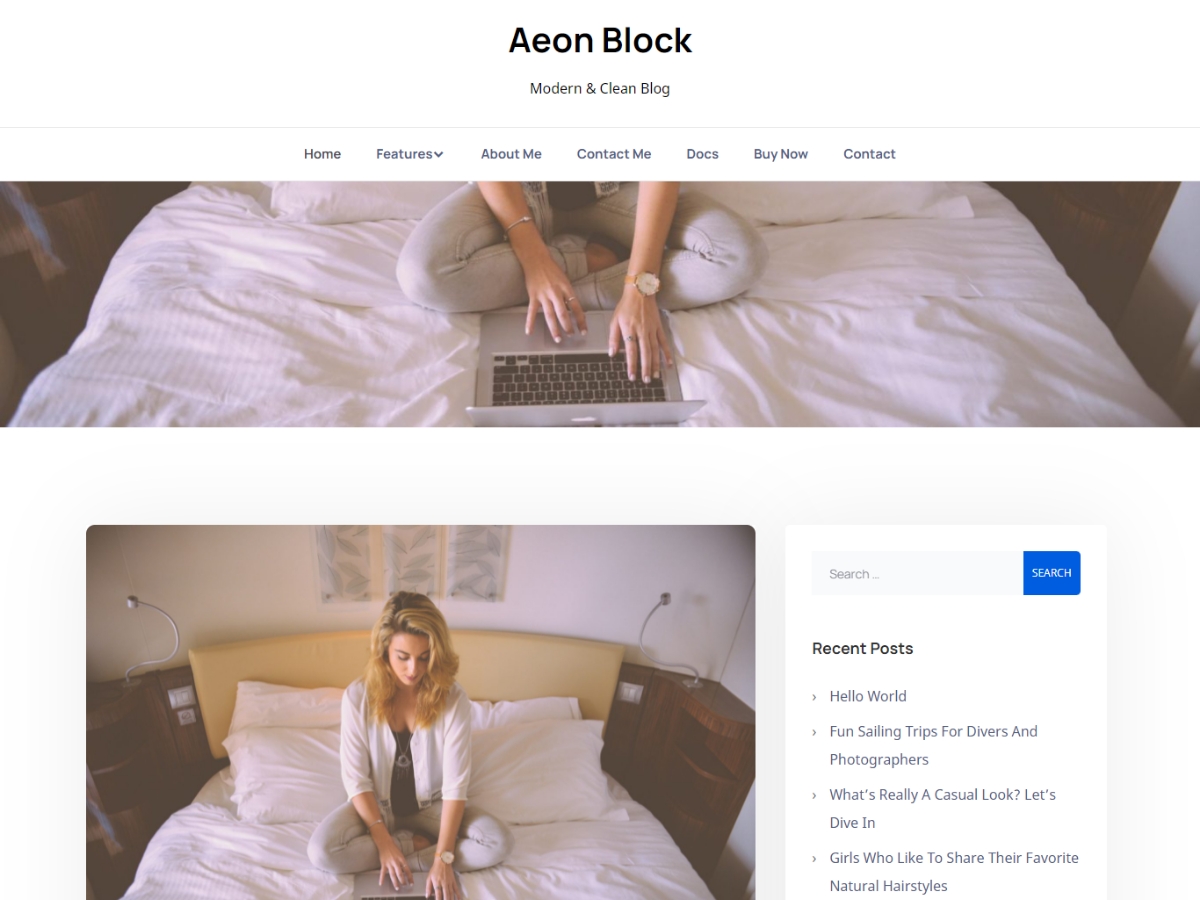
Adding a Header image
AeonBlog has an option to add a full width image to the header area. The image will be shown on all pages. Inside the customizer, select the Header Image panel. Here, you can select an existing image from the media library or upload a new image.
The recommended size is 2200 × 450 pixels, but you can freely choose and crop your image to the size that you want.
The theme has two menus, a primary navigation menu in the header below the Site Title, and an icon menu for social media links in the footer.
-Both menus are optional, and nothing will show if you choose not to add a menu.
There are several ways to add menus: You can create and assign menus to their menu location in the administration area under Appearance, Menus, or in the customizer under the Menus panel.
Setting up a social menu
- Select an existing menu, or create a new menu.
- Add a new Custom Link item to the menu.
- In the URL field, enter the full link, including https:// or http://.
- Enter the name and domain of the social media website into the Navigation Label. This step is important for the menu to work.
Save the menu, and assign in to to the Social Menu menu location:
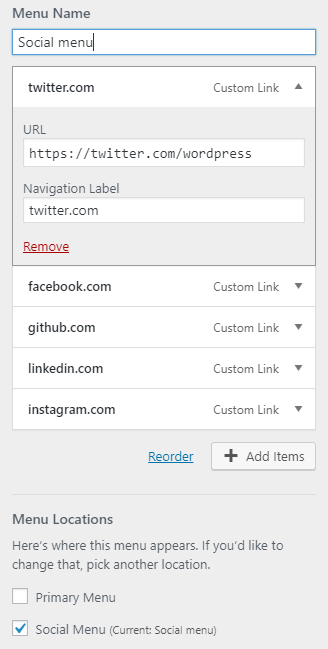
The social menu will display the icons automatically.
If there is no icon for the link you have added, a chain icon will show instead.
Theme Options
We have wanted to make the options as flexible and easy to use as possible.
If you have any questions about the options, please contact us via the support form.
Blog Section Options
Sidebar Options
Select how to display the sidebar. Choose between:
- Right sidebar
- Left sidebar
- No sidebar
- No sidebar, with content shown in a narrower middle column
Tip: If you want to change the sidebar position or hide it on individual posts or pages, you can do this by assigning a template in the editor.
Sticky Sidebar
Select this option to enable a sticky sidebar, where the sidebar will scroll next to the content even when the page content is shorter than the sidebar itself.
Continue Reading Text
Enter your custom continue reading (Read More) text. Note: The title of the post or page will be included after this text.
Meta Options
Enable this option to show the date, category and tags on blog page.
Featured Image
Enable this option show the featured Image on the blog and archive pages.
Large Image
Enable this option to show a larger featured image larger above the excerpt.
Excerpt length
Enter the length of the excerpt. The default is 45.
Typography Options
In this section, you can:
- Choose a font for the Site title.
- Choose a font for the body text.
- Increase or decrease the base font size. The default is 18 pixels.
- Increase or decrease the base line height.
- Increase or decrease letter spacing.
Copyright Text
Enter your own copyright text, visible in the footer.
Go To Top
Enable or disable the Go to Top button in the footer.
Extra options
Breadcrumb Option
Show or hide the breadcrumbs navigation below the primary menu.
Pagination Option
Select the pagination type: Next and Previous, or Numeric.
Related Posts
Show or hide related posts below the post content. Three post titles and the featured images will be displayed if available.
About Section
This section is displayed at the top of the sidebar on the homepage. It shows the users Gravatar and Biographical Info. Important: The content is generated from the selected users settings. So this information needs to be added first.
- Show or hide the About section.
- Select which user to feature in the About section
- Select the Gravatar style. You can hide the Gravatar, or display it as a circle or a square.
Color options
The following color options are available:
- Header Text Color -Changes the text color of the site title and description.
- Background Color -Changes the background color of the main page, but not the background color of the post, pages or sidebar.
- Accent Color -Applied to footer, pagination, continue reading, and categories.
- Button Color -Applied to buttons.
Changing the colors may affect accessibility.
Demo content
We have made some basic demo content available for download. This file can be imported using the WordPress importer, so no additional plugin is needed to use the demo content.
When you import the content, post and pages will be added to your website, and your existing content will not be removed.
In the WordPress admin area, select Tools, then import.
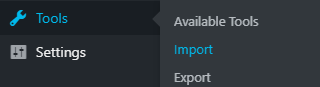
Next, find the WordPress importer at the bottom of the list and click “Run Importer“:

Select the demo xml file that you downloaded, and click Upload file and import.
Once the import is done, you can view your demo content.
-All images used in the demo content are free (public domain) and can be used for personal and commercial use.
Changelogs
These are the latest changes to the theme:
= 1.0.0 – February 08 2022 =
- Initial release